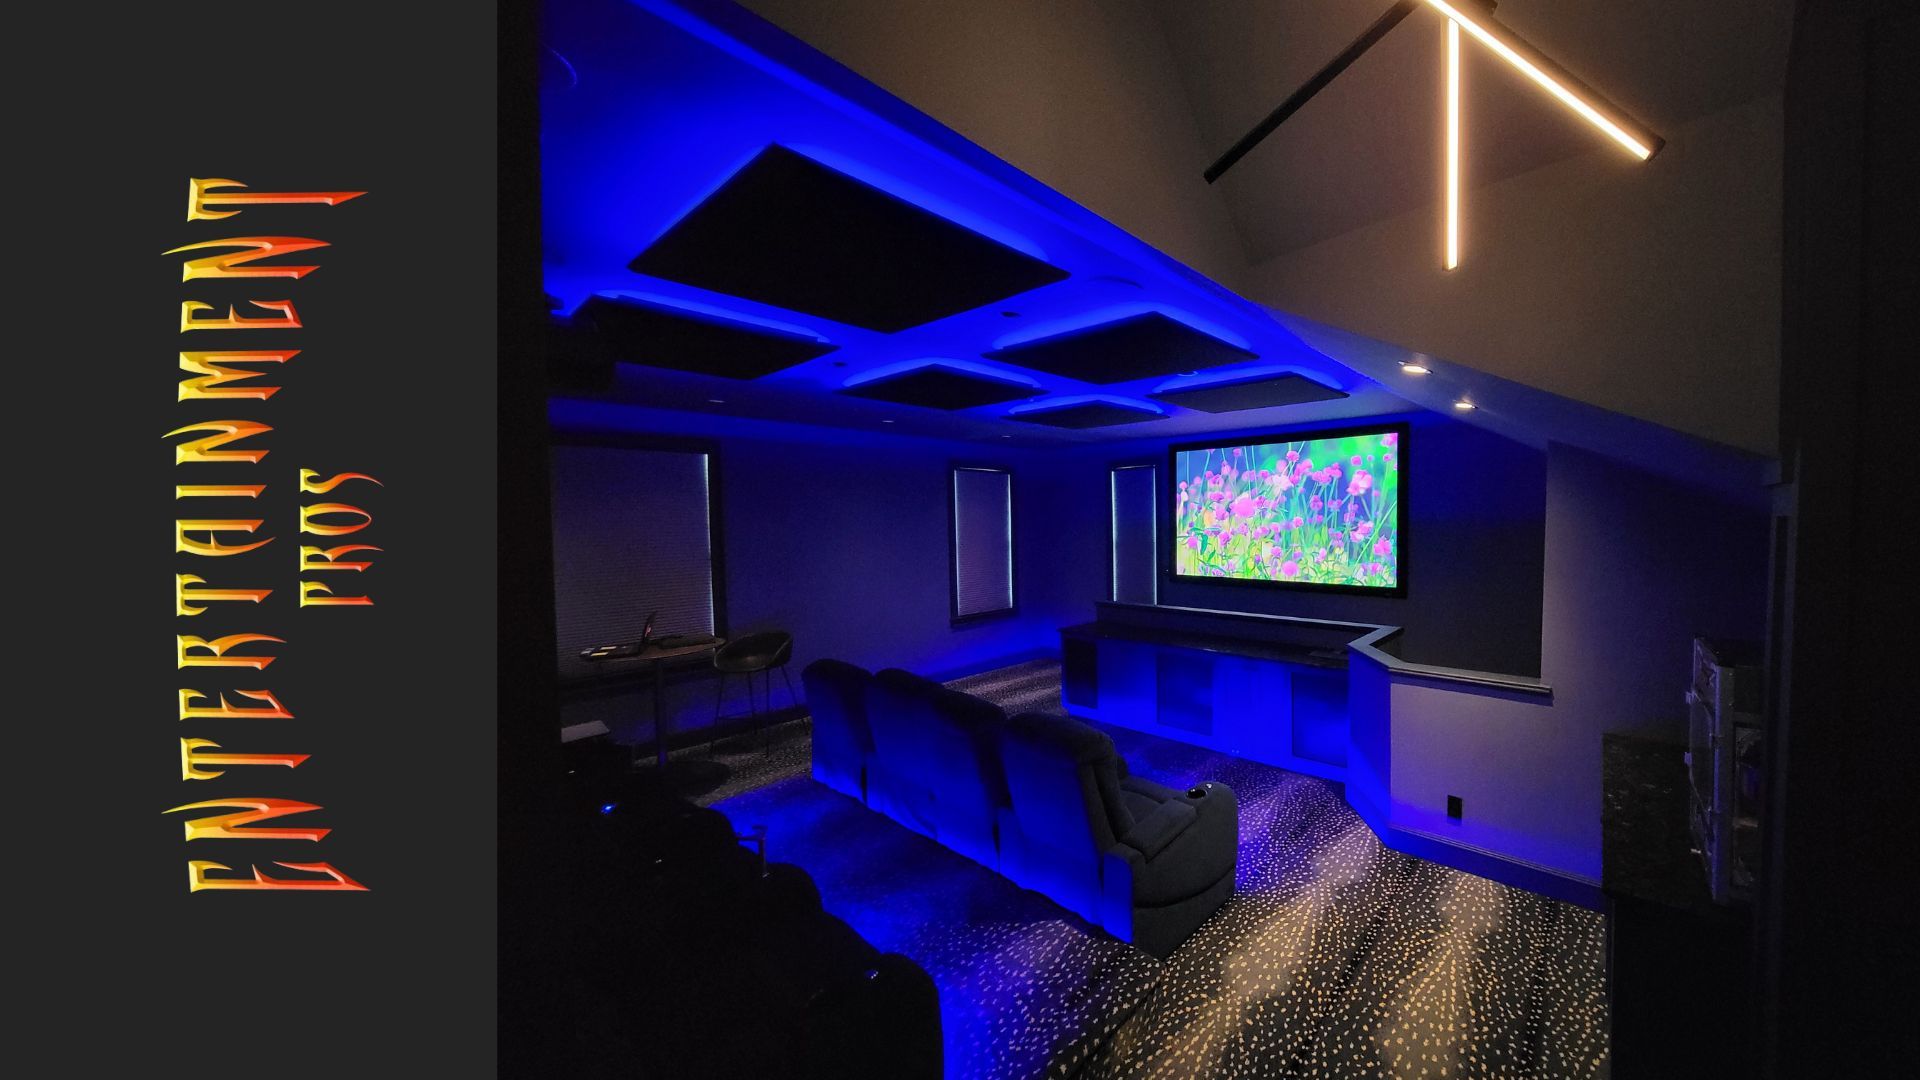
Time-lapse Home Theater
At Entertainment Pros, we deliver high-quality, custom-tailored home theater experiences every day. But our clients, friends, and fans usually only get to see the finished systems, equipment, and installs. We know "seeing is believing", so we created a time-lapse video showing Chip's step-by-step process of each phase of a home theater installation with his commentary at the top.
This video encapsulates our standard installation process, and shows the transformation from a typical interior room to a personal entertainment hub.
Step 1: Prepping the Work Area
At Entertainment Pros, the first step in our process involves preparing the workspace. We ensure the room is clear of any furniture or decor which could interfere with the installation or potentially become damaged. A clean, uncluttered area is essential for a smooth and efficient installation process.
Step 2: Measuring the Screen and Room
We carefully measures the screen and room to guarantee the home theater will look and feel just right. Considering the room's dimensions, including ceiling height and wall length, is crucial to ensuring a perfect fit.
Step 3: Assessing Projector Distance
The distance between the projector and the screen is crucial for optimal image quality. This distance varies based on the type of projector and the size of the screen. We calculate this to ensure the projector is placed at the ideal distance.
Step 4: Installing the Screen Frame
The next step involves installing the screen frame on the designated wall. We ensure the frame is secure, level, and tightly affixed to the wall.
Step 5: Attaching the Screen Material
Next, we stretch the screen material over the secure frame. We aim for a tight, smooth surface to ensure the best possible viewing experience.
Step 6: Installing the Projector Mount
Our next step is to securely install the projector mount on the ceiling, ensuring it can support the weight of the projector.
Step 7: Installing the Projector
With the mount securely in place, we install the projector, verifying it's properly aligned with the screen for an optimal viewing experience.
Step 8: Projecting and Adjusting
The next step is to project a test image onto the screen to fine-tune alignment from top to bottom and left to right. We want to make sure the image fits perfectly within the edges of the screen.
Step 9: Installing the Sound System
Sound is also a critical part of the home theater experience. Our experts position speakers around the viewing area based on the specific surround sound format the client has chosen.
Step 10: Organizing Seating and Lighting
The seating arrangement and lighting significantly impact the home theater experience. We ensure all seats have a clear, comfortable view of the screen and lighting can be adequately controlled.
Step 11: Calibration
After setting up your equipment, we meticulously calibrate your sound and picture settings. While some home theater equipment comes with automatic calibration tools, our experience shows manual adjustments often yield better results.
Step 12: Testing the System
Using a familiar movie, we test the system, ensuring clear, balanced sound from all speakers, and a crisp, vibrant image on your screen.
Step 13: Managing Cables
Proper cable management enhances the aesthetics and safety of your home theater. We use cable ties, conduits, or cable management boxes to keep everything tidy and organized.
Step 14: Optimizing Room Acoustics
Acoustic panels can manage echo and reverb, creating a clearer, more immersive audio experience. If a client has chosen this option, the placement of these panels depends on the specific acoustics of the room.
Step 15: Ensuring Ventilation and Equipment Care
Home theater equipment must have good ventilation to prevent overheating. Our team strategically places electronics in open-air shelves or specially designed cabinets with built-in cooling systems.
Step 16: Setting up the Universal Remote
We set up a universal remote which can control all your devices from one place. This streamlines the management of your home theater components, eliminating the need for multiple remotes.
Step 17: Familiarizing the Client With the AV System
Our final step involves familiarizing you with the operation and maintenance of your new home theater system. We ensure you know how to clean and care for your equipment, prolonging its lifespan and ensuring optimal performance.
Step 18: Enjoy Your Show
Congratulations! Your home theater installation is complete. Now it's time to dim the lights, grab some popcorn (or ice cream!), and enjoy your favorite movie or show in the comfort of your newly installed home theater.
At Entertainment Pros, we're always here to assist with all your AV sales and installation needs. We will help you pick the right sound and video equipment, develop a plan, install your equipment, configure your AV equipment, and most importantly, help you maintain your entertainment system.
Don't hesitate to reach out if you need help at any stage of your home theater setup journey, 727-804-2277 . Enjoy your new home theater experience!
Want to see more AV projects? Go to our portfolio page and see what we've been up to.